

Global Confirmation Message
Configure A Confirmation Email Message For All Events
The global confirmation message is sent for any event type that does not have its own confirmation message in the Event Manager. If you set a unique message for a specific event type, that message overrides the global one.
Each practitioner has their own global confirmation message for each office they work in. The panel shows the Office Name it applies to. To write the message for another office you are part of, switch offices from the User Menu, which is the menu with your initials at the top right.
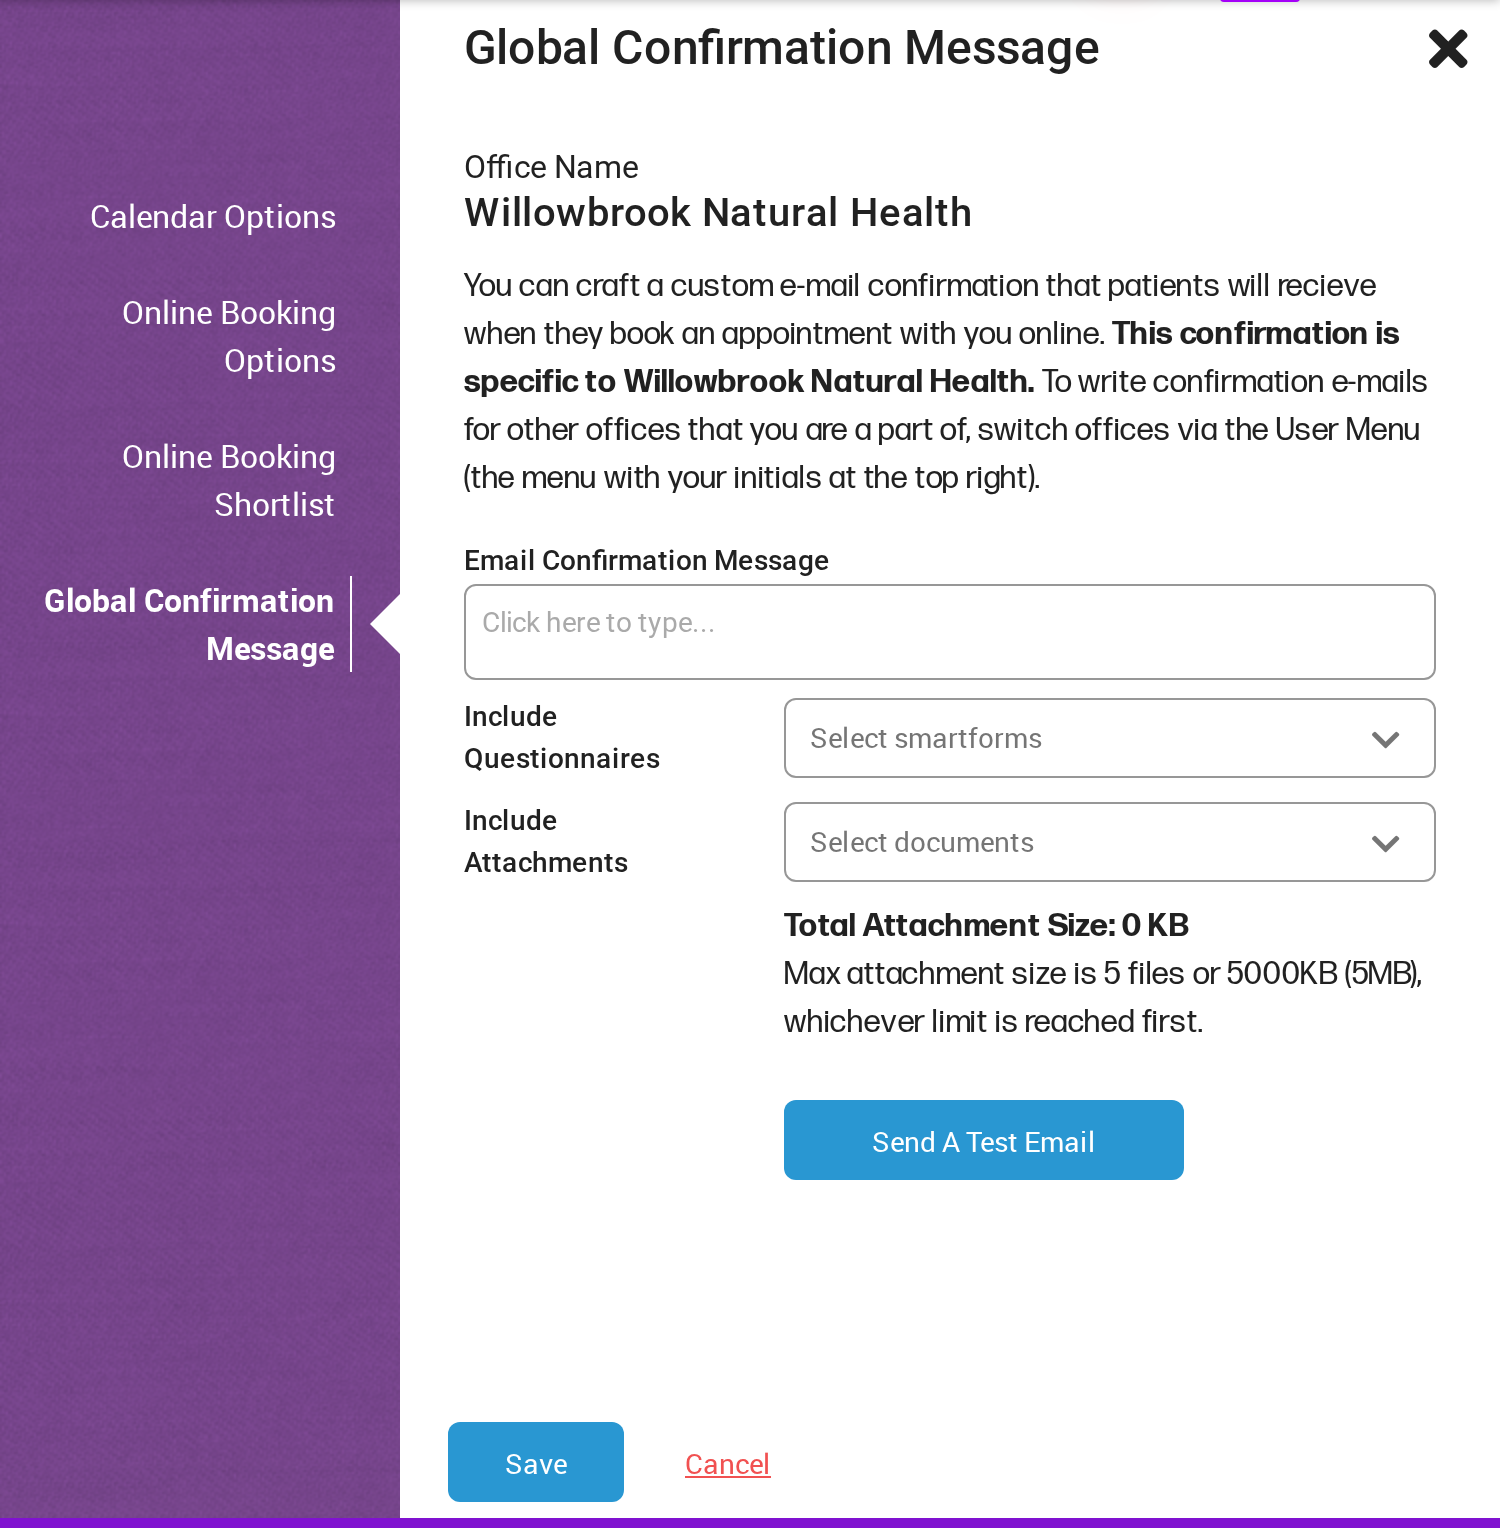
The Global Confirmation Message panel.
What to Include
The global message can be a comprehensive package that includes:
- A custom message you write, in the Email Confirmation Message field.
- Intake forms, chosen in the Include Questionnaires field. This field offers SmartForms V1 forms only. To send SmartForms V2 forms with a confirmation, attach them to the event type in the Event Manager.
- Document attachments, chosen in the Include Attachments field. Attachments are limited to 5 files or 5 MB in total, whichever limit is reached first.
This entire package is sent to the patient when they book an appointment. To see what the message looks like, click send a test email. The test email goes to your own email address and shows your message as it was last saved, so save your changes before you send a test.
When to Use It
The global confirmation message is most useful when you have many event types that will share the same standard confirmation message. By setting a global message, you avoid having to manually create the same message for each event type.
However, if each of your event types requires a unique message, it’s best to configure them individually in the Event Manager as you create each one.